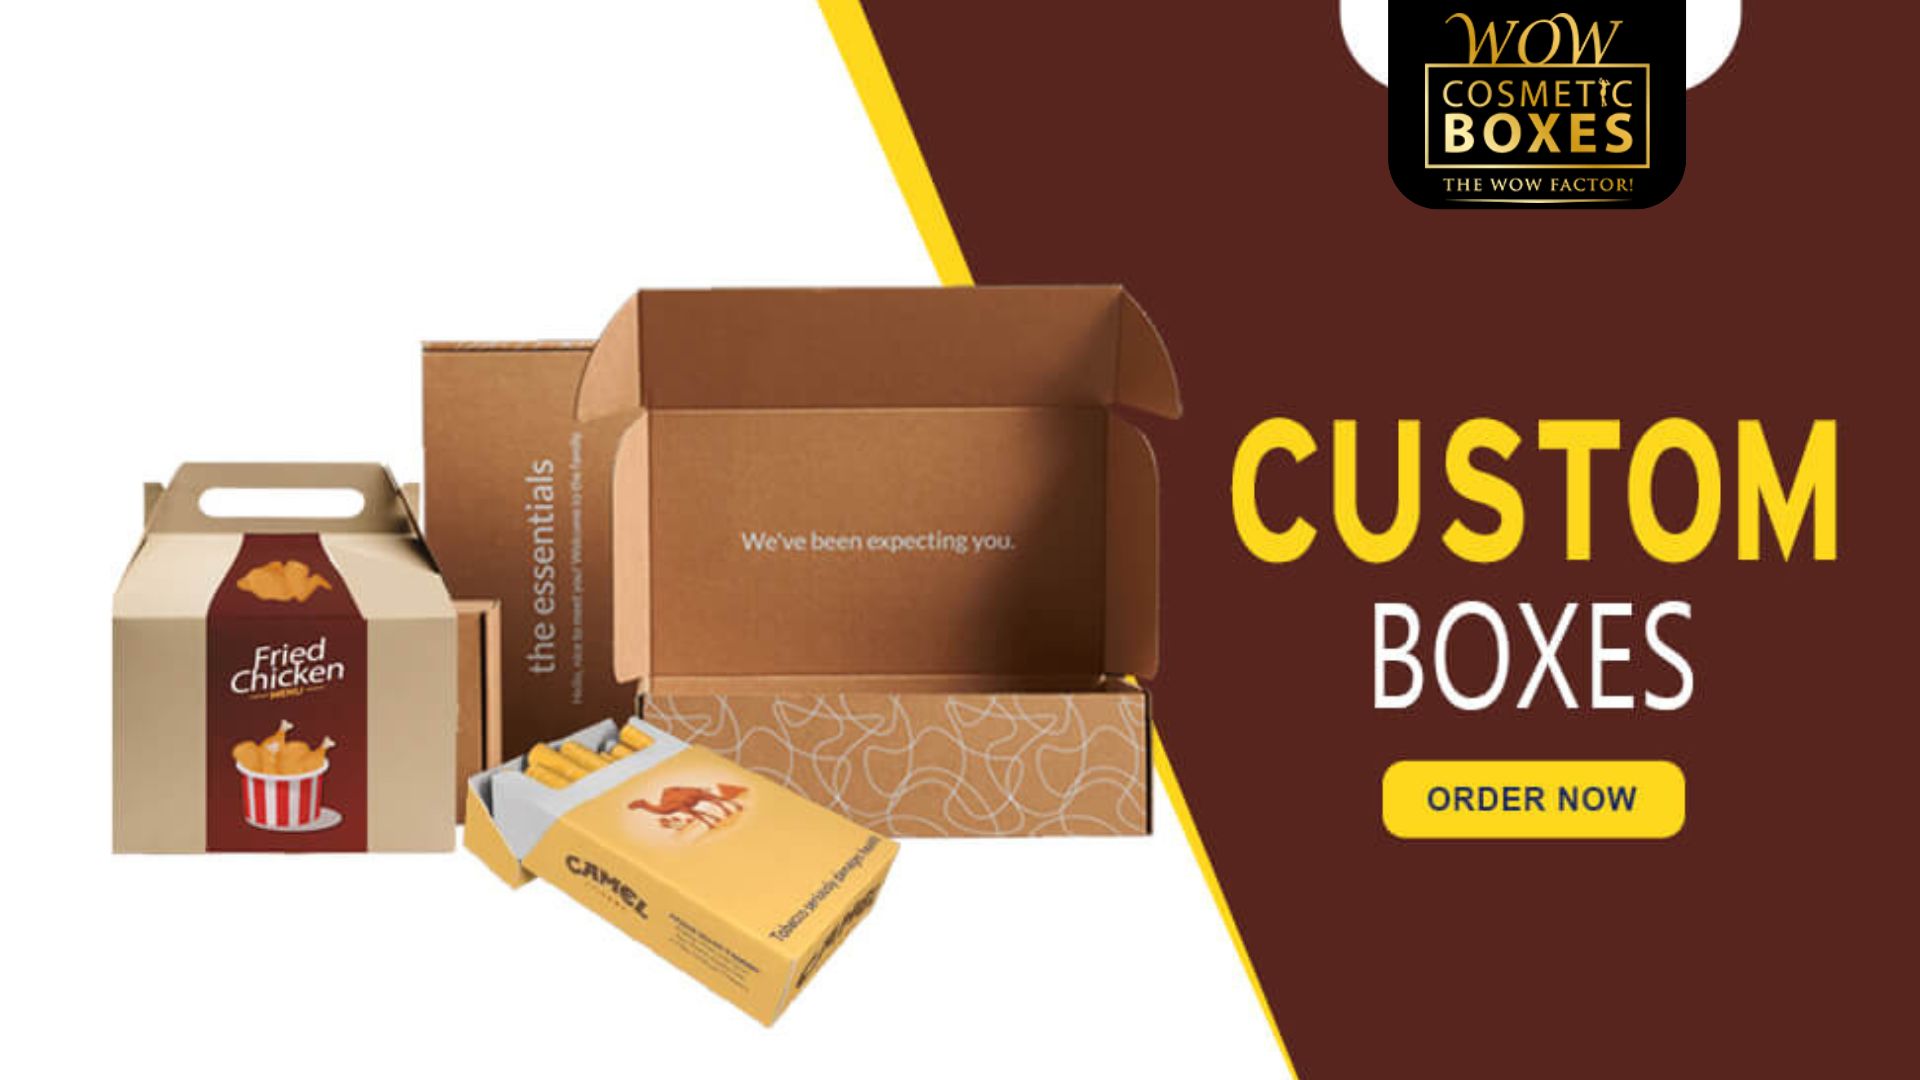
Ordering custom retail boxes is a great way to enhance your brand. Start by exploring the different types of boxes like product or shipping boxes to find what suits your needs. Measure your products accurately, adding some extra space for padding. Choose durable materials like cardboard or eco-friendly options and consider how they’ll align with your budget. Use a 3D design studio to visualize your packaging and include your logos or text. Finally, verify all details, request samples, and confirm delivery timelines to guarantee smooth processing. If you keep going, you’ll uncover more tips to perfect your order.
Main Points
- Determine the type of box you need—product, mailer, or shipping—based on your packaging requirements and product protection needs.
- Accurately measure your product dimensions and add 0.5 to 1 inch for padding to ensure a proper fit.
- Choose materials that suit your budget and provide durability, considering options like cardboard or eco-friendly kraft.
- Utilize a 3D design studio to visualize your box and incorporate branding elements like logos and text.
- Finalize your order by verifying details, requesting sample proofs, and confirming lead times for timely delivery.
Understanding Custom Box Options
When you’re exploring custom box options, it’s important to understand the different types available to meet your packaging needs.
The main types of custom boxes include product boxes, mailer boxes, and shipping boxes. Choosing the Right Box affects product protection and shipping costs.
Custom packaging lets you tailor size and style, ensuring your products fit perfectly and look great. Additionally, opting for custom printed options allows for enhanced brand visibility and marketing effectiveness.
Measuring Your Product Accurately
How can you assure your custom retail boxes fit your products perfectly?
Start by measuring your product’s dimensions accurately—length, width, and height. Use a ruler or measuring tape and always measure from the inside to avoid discrepancies.
Don’t forget to add 0.5 to 1 inch for padding. Proper measuring minimizes waste and assures efficient packaging, saving you money in the long run. Additionally, ensuring the right custom sizes for your boxes enhances product presentation and overall marketability.
Selecting Materials and Style
Choosing the right materials and style for your custom retail boxes is essential for both functionality and branding.
Consider box materials like durable cardboard or eco-friendly kraft options.
Explore types of packaging, such as mailer boxes or folding cartons, to find the right custom box.
Incorporate custom printing and unique features for differentiation, but keep an eye on costs to manage your budget effectively. Additionally, selecting high-quality materials ensures durability and protects your products while enhancing their presentation.
Utilizing the 3D Design Studio
After selecting the right materials and style for your custom retail boxes, it’s time to bring your vision to life with a 3D design studio.
This tool streamlines the design process, allowing you to visualize packaging boxes in open and closed states.
With easy additions for branding, like text and logos, you’ll create unique custom boxes efficiently, following this step-by-step guide. Additionally, the use of high-quality packaging is essential for ensuring your products are well-protected and visually appealing to customers.
Finalizing Your Design
Once you’ve crafted your custom box design, it’s essential to verify everything is just right before moving forward.
Use dieline templates to maintain accurate dimensions, and verify all order information, including printing options and box type, is complete.
Consider requesting printed sample proofs to check color accuracy. Effective branding can enhance product visibility and attract new customers, making this final step crucial.
Once you’re satisfied, you can start finalizing your design for your shipping box.
Placing Your Order
Placing your order for custom retail boxes is an essential step in bringing your packaging vision to life.
First, identify the right type of custom boxes for your product. Request quotes to understand pricing, shipping costs, and minimum order requirements.
Once you’re satisfied with your design, click “Add to Cart” and confirm your details to finalize your order and get started.
Ensuring Timely Delivery
When you’ve finalized your order for custom retail boxes, guaranteeing timely delivery becomes the next priority.
Confirm lead times with your supplier, typically 8-10 business days, based on order quantities.
Maintain clear communication throughout production to address any delays.
Request samples to guarantee quality and manage timelines effectively.
Utilizing US-based logistics and tracking information enhances delivery efficiency for timely arrival.
Conclusion
Now that you know the steps to order custom retail boxes, you’re ready to bring your vision to life. By understanding your options, measuring accurately, and selecting the right materials, you’ll create packaging that truly reflects your brand. Don’t forget to take advantage of design tools and finalize your order carefully. With everything in place, you can confidently place your order and look forward to timely delivery. Your perfect custom boxes are just a few steps away!

